How to Buy ETH on MetaMask Safely in 2026
— By AliceOnChain in Tutorials

Learn how to buy ETH on MetaMask safely in 2026, including direct in-app purchases, exchange transfers, network checks, and funding mistakes to avoid.
How to Buy ETH on MetaMask: A Step-by-Step Safety Guide (2026)
In the 2026 digital economy, Ethereum has become more than just a cryptocurrency; it is the fuel for a global decentralized machine. Whether you are looking to mint an NFT, provide liquidity on a DEX, or explore restaking, the first hurdle is always the same: how to buy ETH on MetaMask. While the process has become more streamlined, navigating the ripples of different networks (Mainnet, Arbitrum, Optimism, Base) requires a clear protocol to avoid losing funds. This guide covers everything from direct purchases to answering the common question: can I send ETH to MetaMask from an exchange?
Question:
How do I add ETH to MetaMask?Answer:
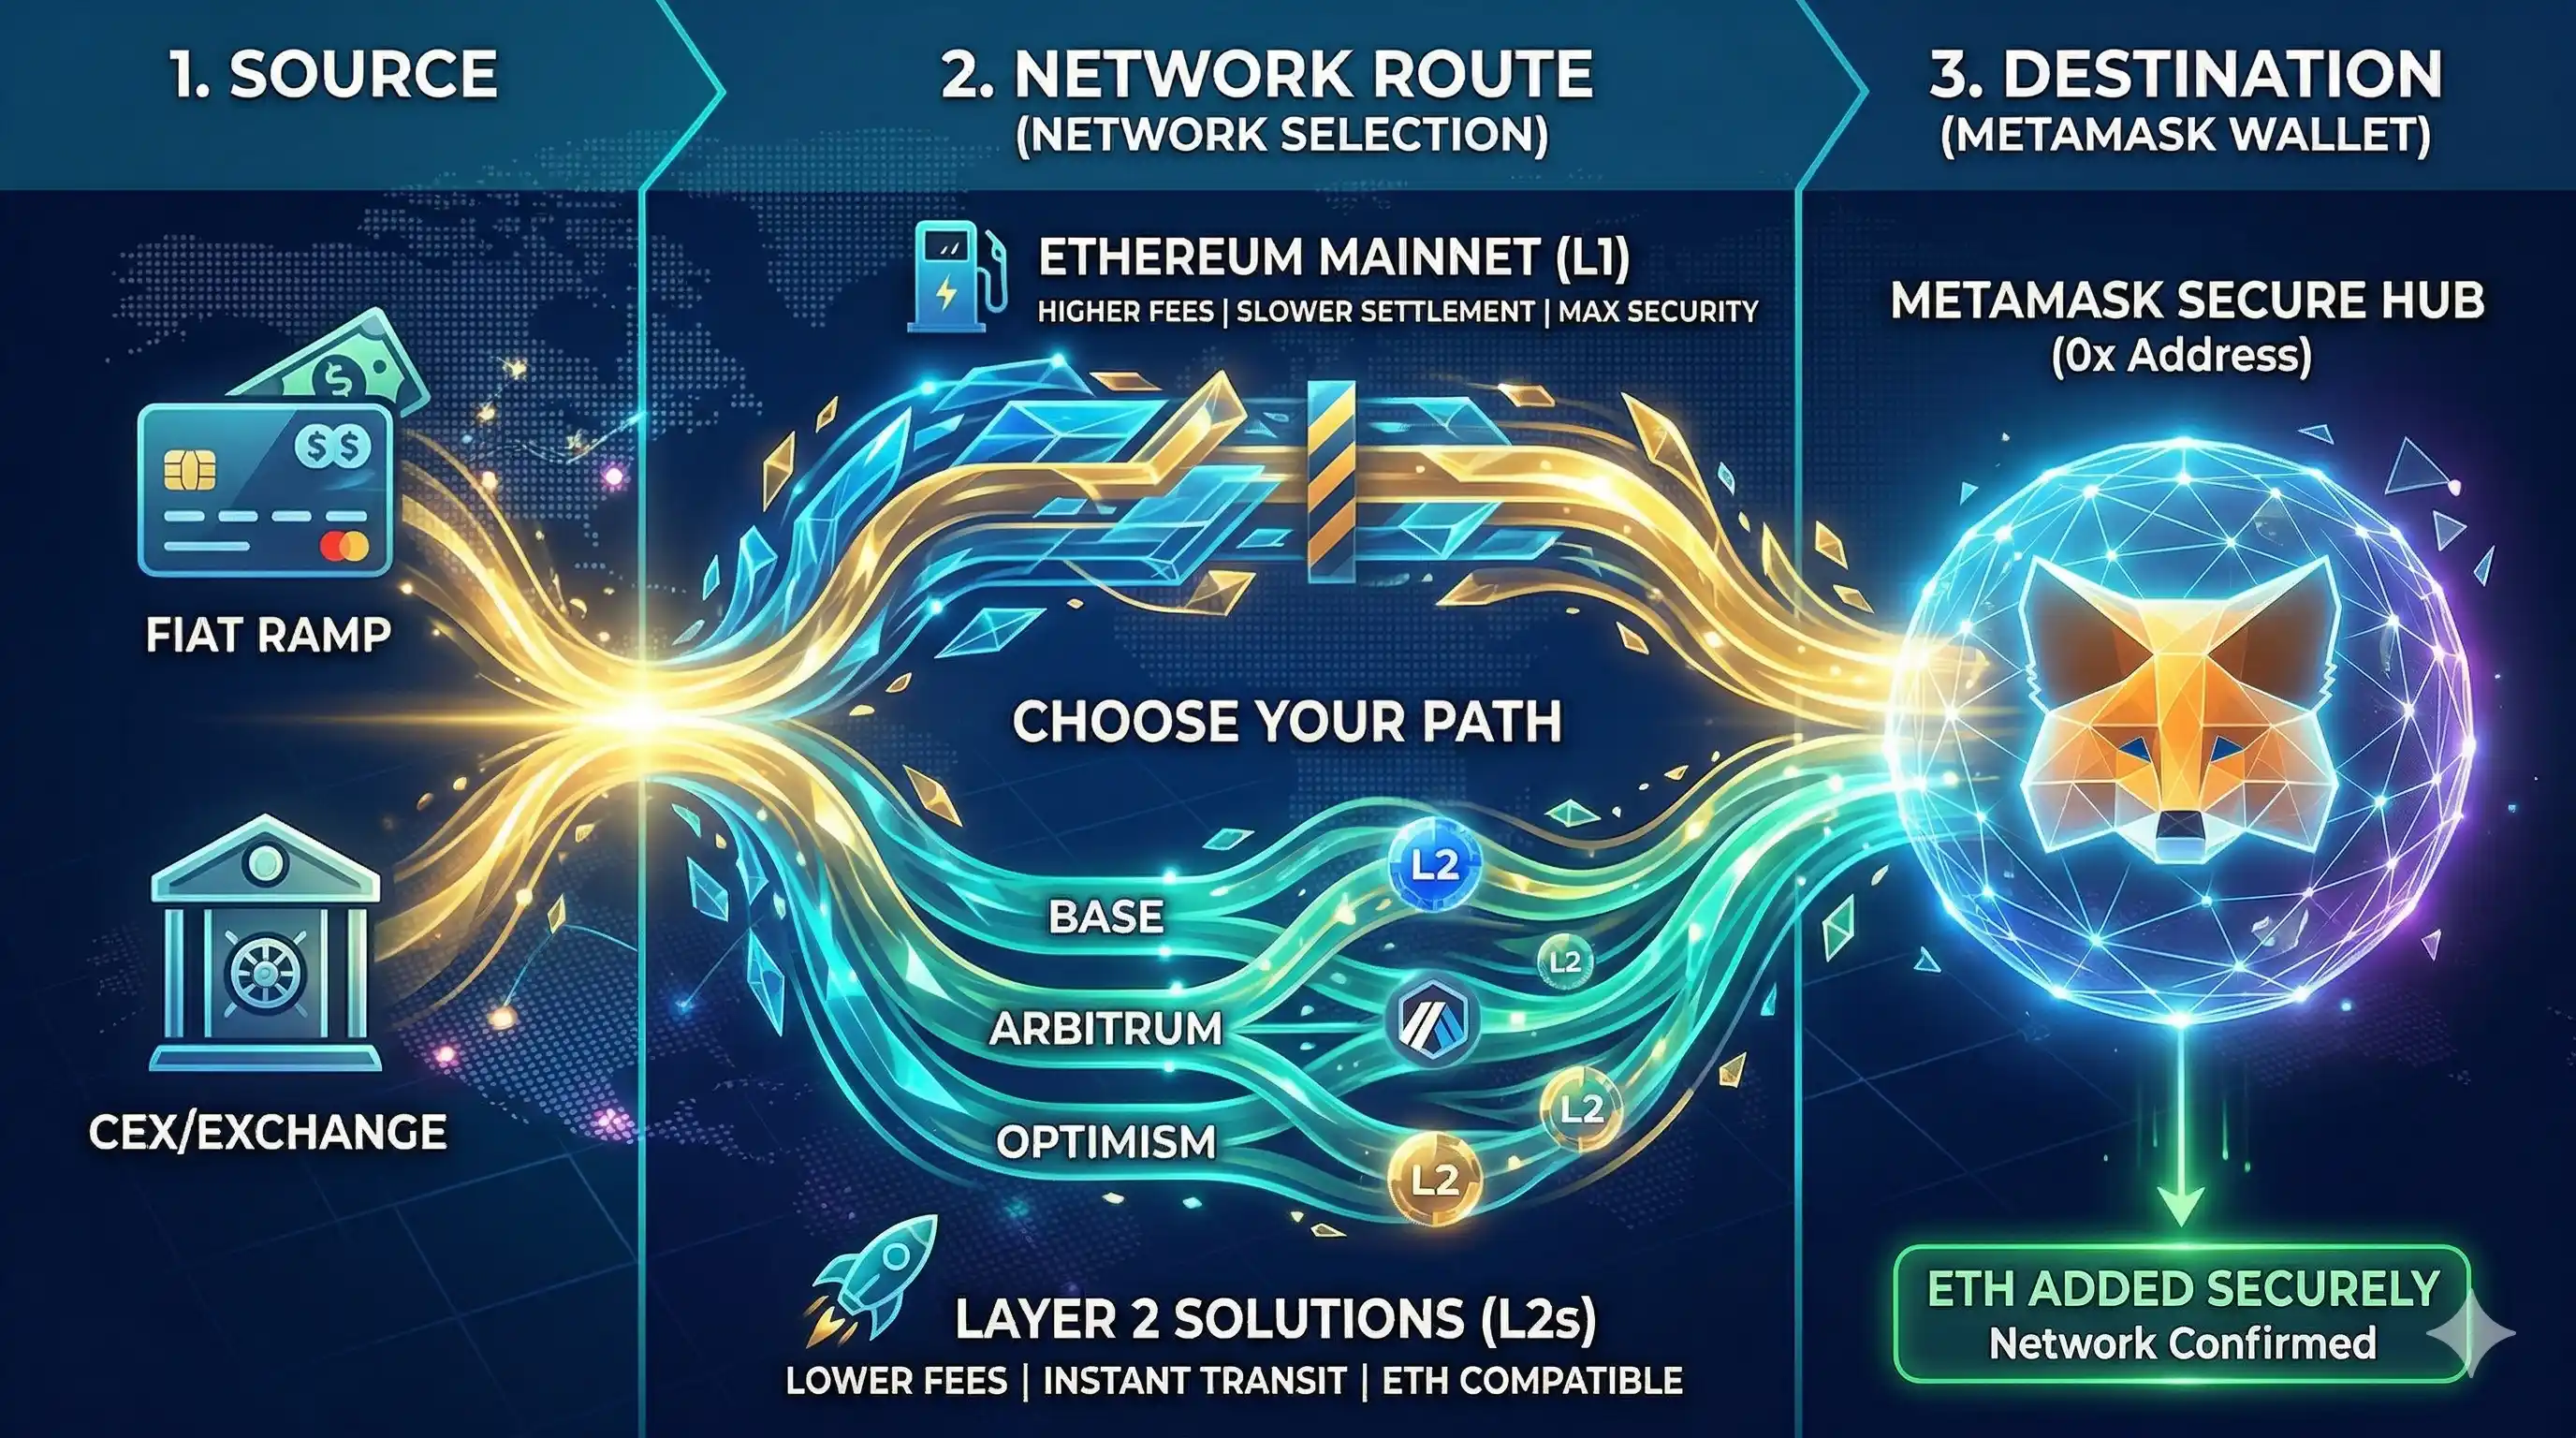
You can add ETH to MetaMask by either buying it directly within the app using a card/bank transfer via integrated providers or by sending ETH from a centralized exchange (CEX) to your unique 0x wallet address over the correct network.
1. Setting Up Your MetaMask Perimeter
Before you learn how to add ETH to MetaMask, your wallet must be properly secured.
Official Source: Always download MetaMask from the official website or verified app stores.
Seed Phrase Security: Your 12 or 24-word Secret Recovery Phrase is the only way to recover your funds. Never store it digitally.
Network Selection: By default, MetaMask is set to the Ethereum Mainnet. In 2026, many users prefer to buy ETH directly on L2s like Base or Arbitrum to save on gas fees.
2. Option A: How to Buy ETH on MetaMask Directly
The easiest way for beginners is using the "Buy" aggregation tool integrated into the wallet.
Open MetaMask: Unlock your wallet and click the "Buy" button on the home screen.
Select Region and Asset: Choose your country and select ETH.
Choose a Provider: MetaMask will aggregate quotes from providers like MoonPay, Transak, or PayPal. Compare the fees and the "Total ETH received."
Complete KYC: You will need to complete a quick identity verification with the chosen provider.
Confirm Receipt: Once the transaction is processed, the ETH will appear in your balance. This is the most direct way of how to add ETH to MetaMask without leaving the app.
3. Option B: Can I Send ETH to MetaMask from an Exchange?
The answer is a definitive yes, but with a warning. Many users ask can I send ETH to MetaMask using any network.
The Golden Rule: The network you select on the exchange (e.g., Binance, Coinbase, Kraken) must match the network active in your MetaMask.
The Process: 1. Copy your MetaMask address (starts with
0x...). 2. On your exchange, go to "Withdraw" and select ETH. 3. Paste your address and carefully select the network. If you send ETH via the Optimism network to a MetaMask that only has Mainnet configured, the funds won't show up until you manually add the Optimism network.
4. How to Add ETH to MetaMask via Bridge
In 2026, you might have ETH on one chain (like Polygon) but need it on another (like the Ethereum Mainnet).
To move assets, you use a Bridge.
Using the MetaMask Portfolio bridge tool, you can swap and move ETH across different ripples of the ecosystem. This is a crucial skill for anyone learning how to add ETH to MetaMask for specific DeFi applications found on DEXTools.
5. Verifying Your Transaction on DEXTools
Once you have successfully added ETH to your wallet, the next step is verification. Professional traders don't just trust the wallet's UI; they use data-driven tools.
Check the Explorer: Use the block explorer links provided in MetaMask to see the transaction status on-chain.
DEXTools Integration: If you bought ETH to trade a specific pair, head over to DEXTools. Connect your wallet (safely) to monitor your "Token Health" and ensure the ETH you just added is being deployed into high-liquidity, high-DEXTScore pools.
6. Safety Tips for 2026
Address Poisoning: Always double-check every character of your address. Scammers often send tiny amounts of "dust" from addresses that look similar to yours to trick you into copying the wrong one from your history.
Gas Fee Awareness: Even when learning how to buy ETH on MetaMask, remember that every move on the Mainnet costs "Gas." Always keep a small buffer of ETH (at least $20-$50) to cover future transaction fees.
Revoke Permissions: If you connect your MetaMask to a new site to buy or swap ETH, use a tool to revoke "Set Approval For All" once you are done.
Conclusion
Mastering how to buy ETH on MetaMask is your gateway to the 2026 decentralized world. Whether you choose the convenience of a direct buy or the flexibility of an exchange transfer-answering the "can I send ETH to MetaMask" doubt-the key is network consistency and seed phrase security. By following these ripples of best practices and using DEXTools to verify your moves, you are no longer just a spectator; you are an active participant in the future of finance.
--
Disclaimer: This article is for informational purposes only and does not constitute investment advice, financial advice, trading advice, or any other kind of advice. DEXTools does not recommend buying, selling, or holding any cryptocurrency or token. Users should conduct their own research and consult with a qualified financial advisor before making any investment decisions. Cryptocurrency investments are volatile and high-risk. DEXTools is not responsible for any losses incurred.
How to Use 1inch: Complete DEX Aggregator Swap Tutorial (2026)