How to Use Write Contract on Etherscan to Claim Tokens

When a project's website crashes or falls victim to a front-end DNS hijack, your capital shouldn't be held hostage. Master direct smart contract execution via Etherscan.
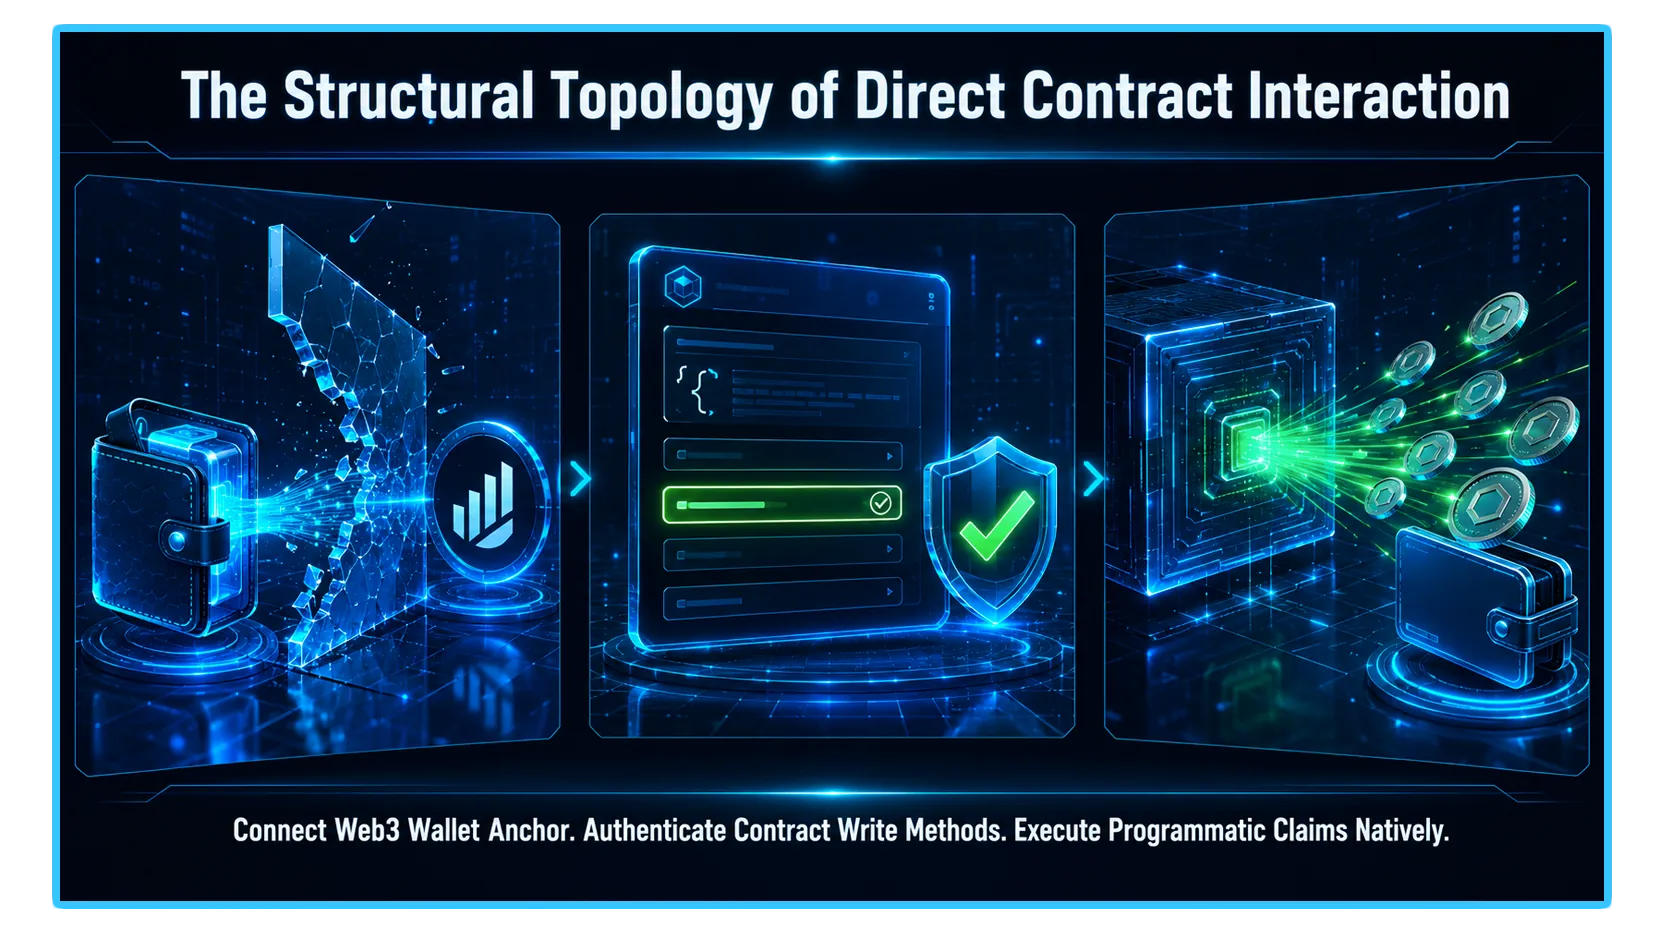
How to Claim Tokens Directly Through Etherscan Without Using a dApp
- In the decentralized web, user interfaces are the most fragile layer of the tech stack. While the underlying smart contracts running an airdrop, a staking pool, or a vesting schedule sit safely on an immutable blockchain ledger, the consumer-facing websites (dApps) used to interact with them are routinely exposed to server crashes, intense traffic bottlenecks, and predatory DNS domain hijacks. Relying exclusively on a website's front-end interface means your capital mobility is entirely at the mercy of a project’s web hosting status.
If you want to operate with true on-chain sovereignty, you must treat user interfaces as entirely optional luxuries.
- By communicating directly with the blockchain via a block explorer like Etherscan, you can claim tokens, withdraw liquidity, or unstake assets completely independent of an external website. This technical guide provides the exact operational framework required to connect your Web3 wallet to Etherscan's Write Contract interface to execute manual token claims securely.
1. The Sovereignty Bypass: Why Go Direct?
To evaluate direct ledger interaction with analytical precision, you must recognize that a dApp website is merely a visual translator. When you click a stylized "Claim" button on a webpage, the site's underlying code simply compiles a cryptographic instruction string and forwards it to your browser wallet extension.
[Traditional Path] User Wallet ───> Third-Party dApp Website (Vulnerable to Crashes/Hijacks) ───> Smart Contract
[Sovereignty Path] User Wallet ───> Verified Block Explorer (Etherscan Interface Layer) ───> Smart Contract
Bypassing the middleman website and generating this payload straight through Etherscan offers two vital security and operational advantages:
Censorship and Downtime Resistance: During high-visibility token distribution events, project websites routinely crash under immense server loads. Interfacing straight with the contract lets you claim your tokens seconds after deployment, long before the public front-end recovers.
Definite Malicious Front-End Defense: Phishing actors frequently hijack a project's domain name to alter the underlying button commands, routing "Claim" buttons to drainer scripts. Etherscan’s verified contract code panel acts as a trusted development enclave, ensuring your signatures only communicate with the legitimate protocol architecture.
2. The Architectural Layout: Read vs. Write Mechanics
To maintain absolute scannability regarding how block explorers categorize smart contract endpoints, analyze the distinct parameters defining the ledger interface matrix:
| Contract Tab Class | Computational Function Type | Economic Impact on the Ledger |
Read Contract | Queries static on-chain state data variables (e.g., balanceOf, owner, isEligible) | Entirely gas-free; does not require a wallet connection or signature authorization |
Write Contract | Mutates state data conditions or executes state modifications (e.g., claim, transfer, withdraw) | Requires an active Web3 wallet connection, gas token expenditure, and explicit cryptographic signature |
3. Step-by-Step Playbook: Executing a Manual Token Claim
Step 1: Locate and Verify the Authentic Contract Address
Before authorizing any digital signature, you must confirm you are interacting with the genuine protocol contract. Do not harvest contract addresses from unverified social discussion streams. Extract the official contract hash from audited documentation directories, institutional token launchpad summaries, or verified block explorer registries.
Step 2: Initialize the Etherscan Write Interface
Paste the verified contract address into the search query bar of Etherscan (or the network-equivalent explorer, such as Arbiscan, Basescan, or Solscan).
Scroll to the mid-page navigation panel and select the Contract tab.
Sub-select the Write Contract option row.
Click the Connect to Web3 button overlay. A connection terminal will prompt you to anchor your preferred hardware or software wallet (e.g., MetaMask, Rabby). Ensure the network index displayed on your explorer match-pairs perfectly with your wallet's active chain setting.
The Status Indicator Check: Upon a successful handshake, the small status orb adjacent to the connection module will shift to a solid green configuration, displaying your active public wallet address cleanly.
Step 3: Isolate and Execute the Claim Function
Scroll through the numbered array of authenticated smart contract methods to find the specific claim function. Depending on the design pattern chosen by the protocol's engineering team, the function will typically be labeled under standardized descriptors like claim, claimTokens, claimRewards, or getReward.
Scenario A: Simple Standard Claims
If the distribution framework utilizes an internal ledger checklist, the function box will display zero raw parameter fields. Simply click the Write action block to prompt an automatic signature approval request window inside your connected wallet interface.
Scenario B: Advanced Parameter Requirements (Merkle Proofs & Decimals)
Sophisticated airdrop rollouts often require the user to manually provide allocation parameters harvested from an official backend API dump:
The Amount String: Values must be translated into raw integer strings based on the token's native decimals (usually 18 decimals). To claim precisely 500 tokens, you cannot input the integer
500. You must expand it to match the standard unit format:500000000000000000000.The Merkle Proof Arrays: If the contract requires a cryptographic data validation path (
bytes32[]), you must copy and paste the complete bracketed array array structure generated for your specific address eligibility profile exactly as formatted in the raw distribution metadata logs.
Step 4: Broadcast and Verify the Finality
Review the localized gas boundaries inside your wallet extension interface, authorize the transaction payload, and monitor the resulting transaction hash. Once verified on-chain, the claimed asset balances will manifest directly inside your private ledger allocation folder concurrently.
4. Real-Time Telemetry and Risk Diagnostics via DEXTools
- Executing an advanced manual token claim directly via a contract interface allows you to completely bypass broken website front-ends, but it demands look-through validation of open-market liquidity before managing your assets. Claiming a highly anticipated token allocation the exact second a contract becomes active is a massive advantage, but if you attempt to swap or allocate those newly claimed tokens without checking real-time market telemetry, you run the risk of executing trades into entirely empty pools, causing extreme execution slippage.
- DEXTools provides the critical analytical data infrastructure needed to monitor these market launches in real-time. By utilizing advanced pair trackers, live transaction logs, and look-through wallet telemetry across alternative layer scaling networks, market participants can independently verify if an asset's open-market activity matches its internal protocol parameters.
- Cross-referencing your manual contract executions with live market depth analysis ensures your portfolio risk parameters remain fully optimized, allowing you to intercept sustainable algorithmic opportunities while keeping your wealth securely protected from hidden pool de-pegs or liquidity contractions.
You can access DEXTools here and start trading today!
Fake Airdrop Claim Site Scam: How Drainers Steal Your Wallet How to Verify a Smart Contract Onchain: Step-by-Step Hidden Owner Privileges: Dangerous Admin Functions Inside 'Verified' Contracts How to Read On-Chain Data: Metrics, Wallet Flows and DashboardsDisclaimer: This article is for informational purposes only and does not constitute investment advice, financial advice, trading advice, or any other kind of advice. DEXTools does not recommend buying, selling, or holding any cryptocurrency or token. Users should conduct their own research and consult with a qualified financial advisor before making any investment decisions. Cryptocurrency investments are volatile and high-risk. DEXTools is not responsible for any losses incurred.