Como usar Exodus Wallet: tutorial multi-chain completo (2026)
— By Tony Rabbit in Tutorials

Guia completa de Exodus Wallet para gestionar crypto en multiples blockchains.
Managing cryptocurrency across multiple blockchains can feel overwhelming, especially when you need separate wallets for Bitcoin, Ethereum, and Solana. Exodus Wallet solves this problem by offering a single, beautifully designed application that supports over 300 digital assets. This Exodus wallet tutorial will walk you through everything you need to know - from initial setup to advanced features like staking and DApp connections - so you can manage your entire crypto portfolio in one place.
What Is Exodus Wallet and Why Should You Use It?
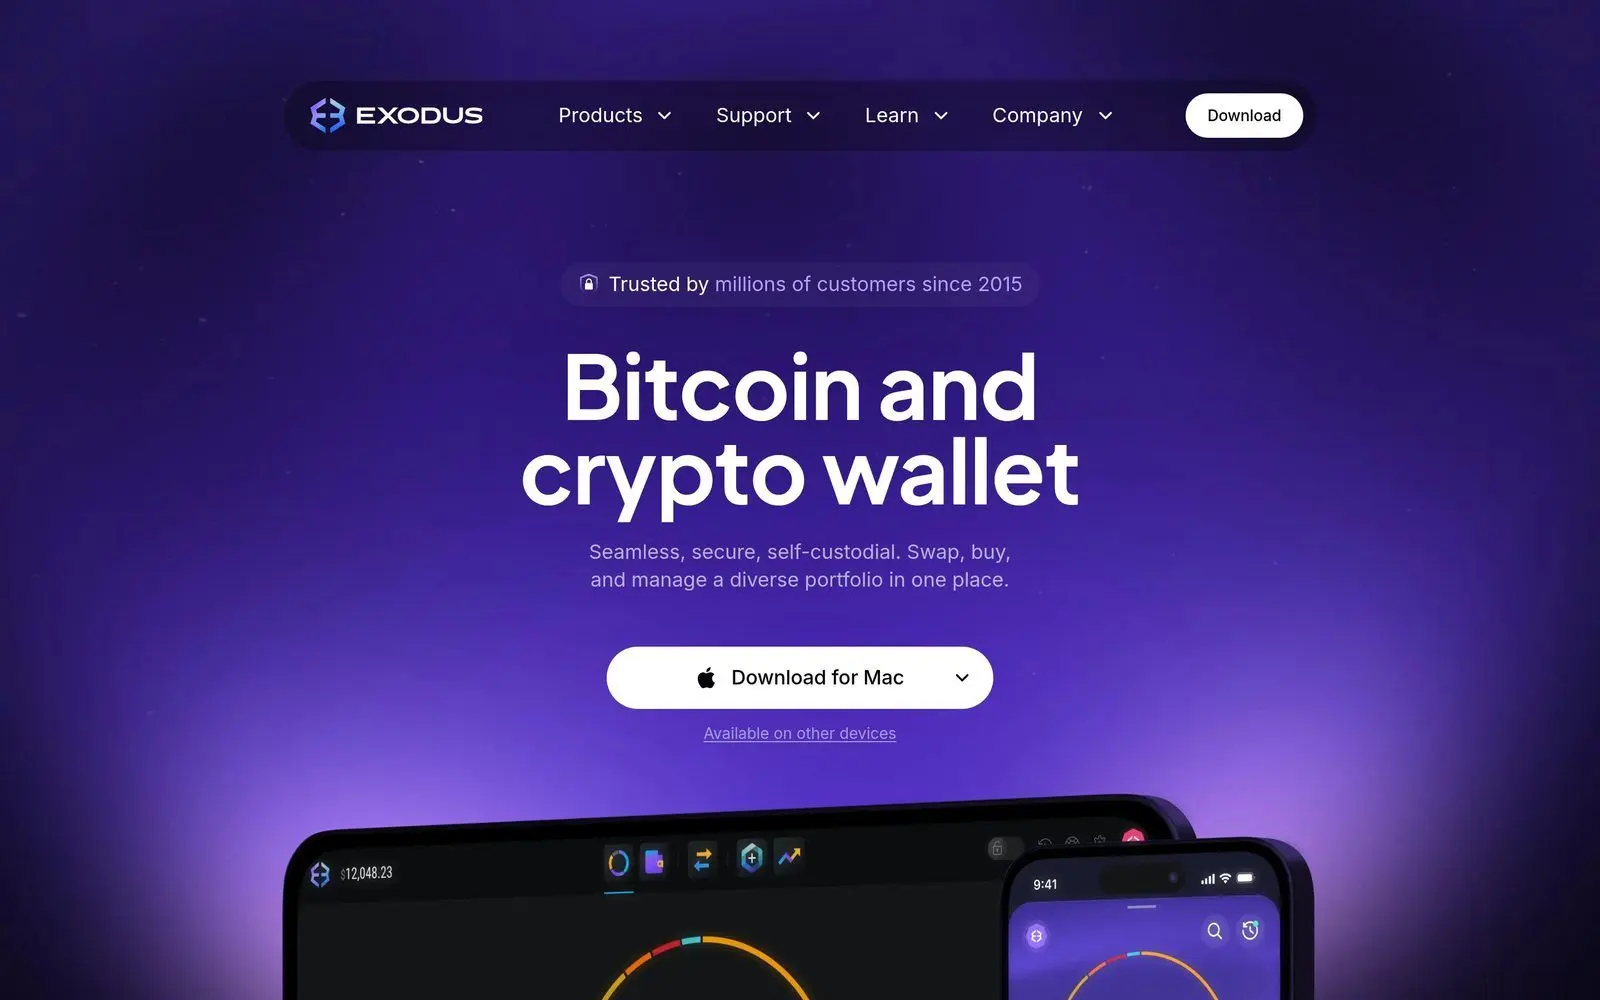
Exodus is a non-custodial, multi-chain cryptocurrency wallet available on desktop (Windows, macOS, Linux), mobile (iOS, Android), and as a browser extension. Unlike custodial wallets offered by exchanges, Exodus gives you full control over your private keys. This means no third party can freeze your funds or deny you access.
Since its launch in 2015, Exodus has grown into one of the most popular self-custody wallets in the crypto space. As of 2026, it supports over 300 cryptocurrencies and tokens across dozens of blockchains, including Bitcoin, Ethereum, Solana, Cardano, Polygon, Avalanche, and many more.
Key Features at a Glance
- Multi-chain support: Bitcoin, Ethereum, Solana, Cardano, Polygon, Avalanche, and 50+ networks
- Built-in exchange: Swap crypto directly inside the wallet without leaving the app
- Staking: Earn passive income on assets like SOL, ADA, ETH, and ATOM
- DApp browser: Connect to decentralized applications directly
- Hardware wallet integration: Pair with Trezor for cold storage security
- NFT gallery: View and manage your NFT collections
- Portfolio tracker: Real-time charts and performance tracking
Exodus vs MetaMask vs Phantom - Quick Comparison
Before diving into setup, it helps to understand where Exodus fits compared to other popular wallets. MetaMask is the go-to wallet for Ethereum and EVM-compatible chains, while Phantom dominates the Solana ecosystem. Both are excellent for their specific use cases, but they are limited to their respective chain families.
Exodus stands apart because it supports both EVM and non-EVM chains in a single interface. You can hold Bitcoin, Ethereum tokens, and Solana SPL tokens all in one wallet. However, MetaMask and Phantom offer deeper integration with their respective DApp ecosystems. The ideal approach for many users is to use Exodus as a primary portfolio hub while keeping MetaMask or Phantom for chain-specific DApp interactions.
Step-by-Step: Setting Up Your Exodus Wallet
Getting started with Exodus takes just a few minutes. This section of our Exodus wallet tutorial covers the setup process for both desktop and mobile.
Step 1: Download and Install Exodus
Visit the official Exodus website at exodus.com and download the version for your operating system. Exodus is available for:
- Desktop: Windows 10+, macOS 11+, Ubuntu/Debian Linux
- Mobile: iOS 15+ and Android 10+
- Browser extension: Chrome, Brave, Edge
Security tip: Always download Exodus from the official website or official app store listings. Never trust links from emails, social media, or third-party download sites. Scammers frequently create fake Exodus apps to steal funds.
Step 2: Create Your Wallet
- Open the Exodus application after installation
- Click "Create New Wallet" on the welcome screen
- Set a strong password - use at least 12 characters with a mix of uppercase, lowercase, numbers, and symbols
- Confirm your password
Exodus will generate your wallet instantly. Unlike some wallets that require email registration, Exodus is completely anonymous - no personal information required.
Step 3: Back Up Your Secret Recovery Phrase
This is the most critical step in the entire setup process. Your 12-word recovery phrase is the only way to restore your wallet if your device is lost, stolen, or damaged.
- Navigate to Settings > Security > Backup
- Exodus will display your 12-word recovery phrase
- Write these words down on paper - in the exact order shown
- Store the paper in a secure location (safe, safety deposit box)
- Never store your recovery phrase digitally (no screenshots, no notes apps, no cloud storage)
- Verify the phrase by confirming selected words when prompted
Critical warning: Anyone who has your 12-word phrase has complete control over all your funds. Exodus support will never ask for your phrase. No legitimate service will ever ask for it. If someone asks, it is a scam - no exceptions.
Step 4: Enable Biometric and Two-Factor Security
After backing up your phrase, strengthen your wallet security:
- On mobile: Enable Face ID or fingerprint unlock in Settings > Security
- On desktop: Enable password lock with auto-lock timer
- Browser extension: Set a strong password and consider pairing with a Trezor hardware wallet
How to Receive Cryptocurrency in Exodus
Receiving crypto in Exodus is straightforward. Each supported asset has its own receive address within the wallet.
Step-by-Step: Receiving Crypto
- Open Exodus and navigate to the Wallet tab
- Find the cryptocurrency you want to receive (e.g., Bitcoin, Ethereum, Solana)
- Click on the asset, then click "Receive"
- Exodus will display your wallet address and a QR code
- Copy the address or share the QR code with the sender
- Wait for the transaction to confirm on the blockchain
Important: Always double-check that you are using the correct network. For example, if someone is sending USDT on the Ethereum network, you must use your Ethereum USDT address - not a Tron or Solana USDT address. Sending to the wrong network can result in permanent loss of funds.
Confirmation Times by Network
- Bitcoin: 10-60 minutes (1-6 confirmations)
- Ethereum: 1-5 minutes (12 confirmations)
- Solana: Under 1 second (near-instant finality)
- Cardano: 1-5 minutes
How to Send Cryptocurrency from Exodus
Sending crypto is equally simple but requires careful attention to details like addresses and network fees.
Step-by-Step: Sending Crypto
- Open the Wallet tab and select the asset you want to send
- Click "Send"
- Enter or paste the recipient's wallet address
- Enter the amount you want to send (you can toggle between crypto and USD values)
- Review the transaction details, including the network fee
- Click "Send" to confirm
- Authenticate with your password or biometrics
Pro tip: When sending large amounts, always send a small test transaction first. This costs a small fee but protects you from costly mistakes. Once you confirm the test amount arrived, send the rest.
Understanding Network Fees
Every blockchain transaction requires a fee paid to network validators. Exodus automatically calculates fees, but you should be aware of typical costs:
- Bitcoin: $0.50 - $5.00 depending on network congestion
- Ethereum: $0.50 - $20.00 (gas fees vary significantly)
- Solana: Under $0.01 (one of the cheapest networks)
- Polygon: Under $0.01
If you regularly move assets and want to monitor token activity across decentralized exchanges, tools like DEXTools can help you track real-time trading data and token analytics alongside your wallet activity.
Using the Built-in Exchange
One of Exodus's most convenient features is its built-in exchange, which lets you swap one cryptocurrency for another without leaving the wallet.
How to Swap Crypto in Exodus
- Click the Exchange icon (two arrows) in the navigation
- Select the asset you want to exchange from (e.g., Bitcoin)
- Select the asset you want to exchange to (e.g., Ethereum)
- Enter the amount
- Review the exchange rate and fees
- Click "Exchange" to confirm
Exodus partners with multiple exchange aggregators to offer competitive rates. However, built-in wallet exchanges typically charge a spread of 1-3% compared to trading on a centralized exchange. For large trades, you may want to compare rates before swapping.
Supported Exchange Pairs
Exodus supports hundreds of exchange pairs across all its supported networks. Popular swaps include:
- BTC to ETH (and vice versa)
- ETH to SOL
- BTC to USDT/USDC
- Any ERC-20 token to another ERC-20 token
- Cross-chain swaps between different networks
Staking Crypto with Exodus - Earn Passive Income
Staking is one of the most appealing features in this Exodus wallet tutorial. It allows you to earn rewards by helping secure proof-of-stake blockchains - and Exodus makes the process incredibly simple.
How to Stake in Exodus
- Navigate to the Wallet tab
- Select a stakeable asset (look for the "Earn Rewards" badge)
- Click "Stake" or "Earn Rewards"
- Choose the amount you want to stake
- Confirm the staking transaction
- Rewards will begin accruing automatically
Staking Rewards by Asset (2026 Estimates)
- Solana (SOL): 6-8% APY
- Cardano (ADA): 3-5% APY
- Cosmos (ATOM): 15-20% APY
- Ethereum (ETH): 3-4% APY
- Polkadot (DOT): 10-14% APY
- Algorand (ALGO): 5-7% APY
Note: Staking rewards are approximate and fluctuate based on network conditions, total staked amount, and validator performance. Some assets have lock-up or unbonding periods during which your funds cannot be moved.
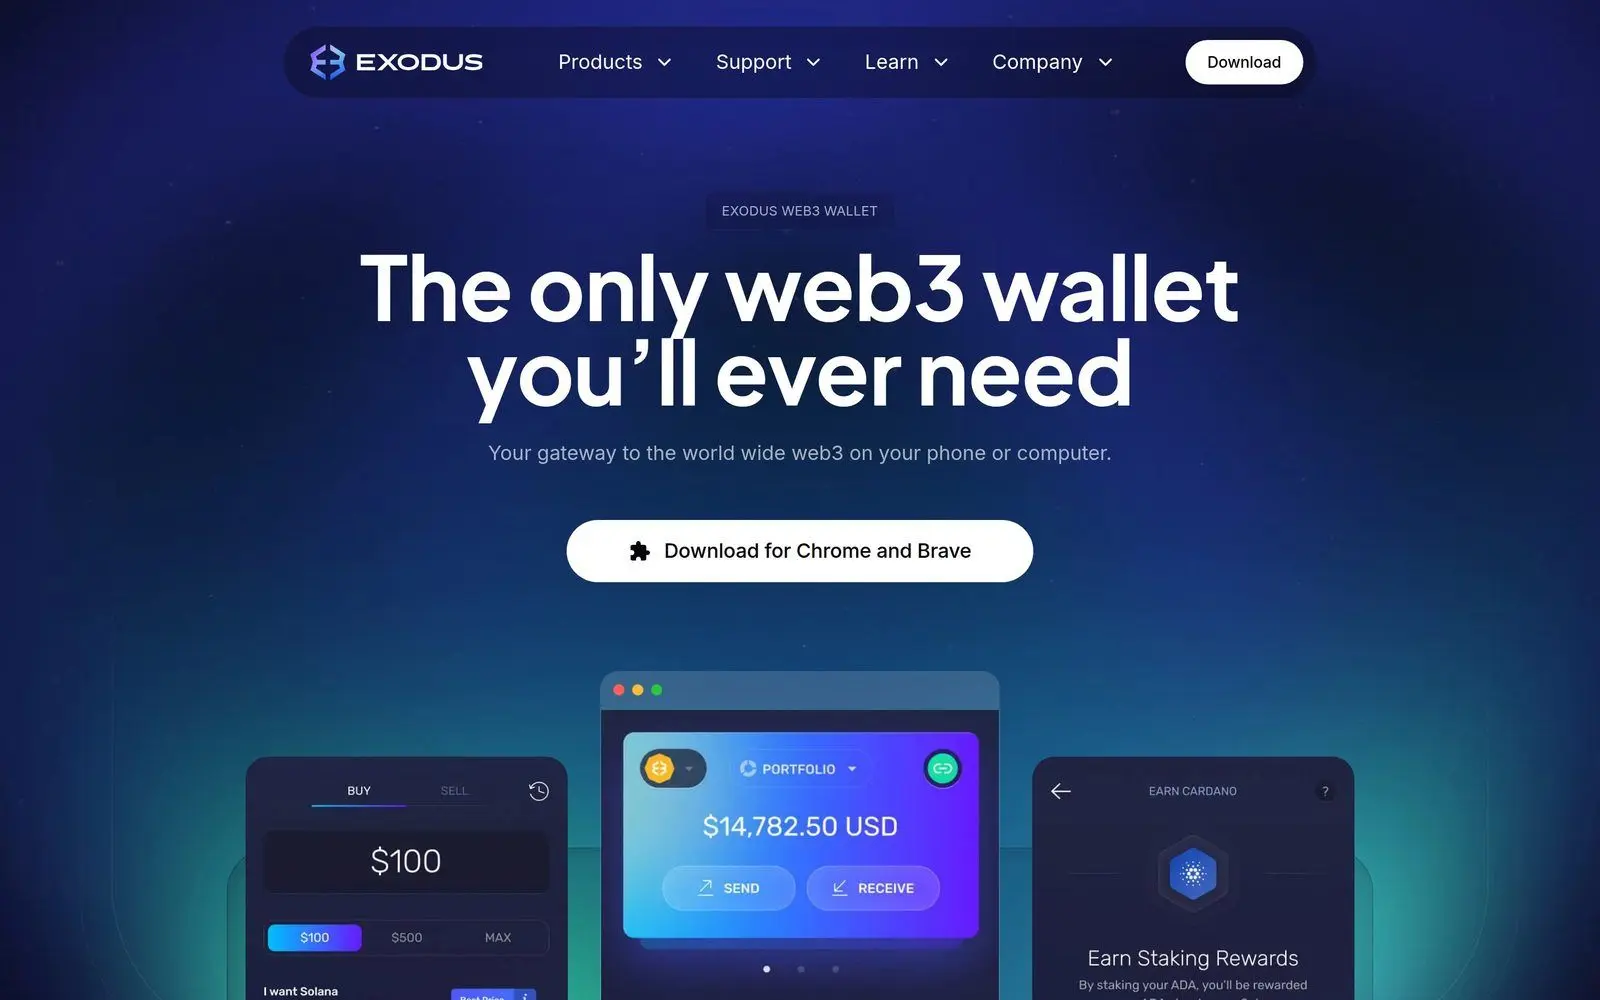
Connecting to DApps with Exodus
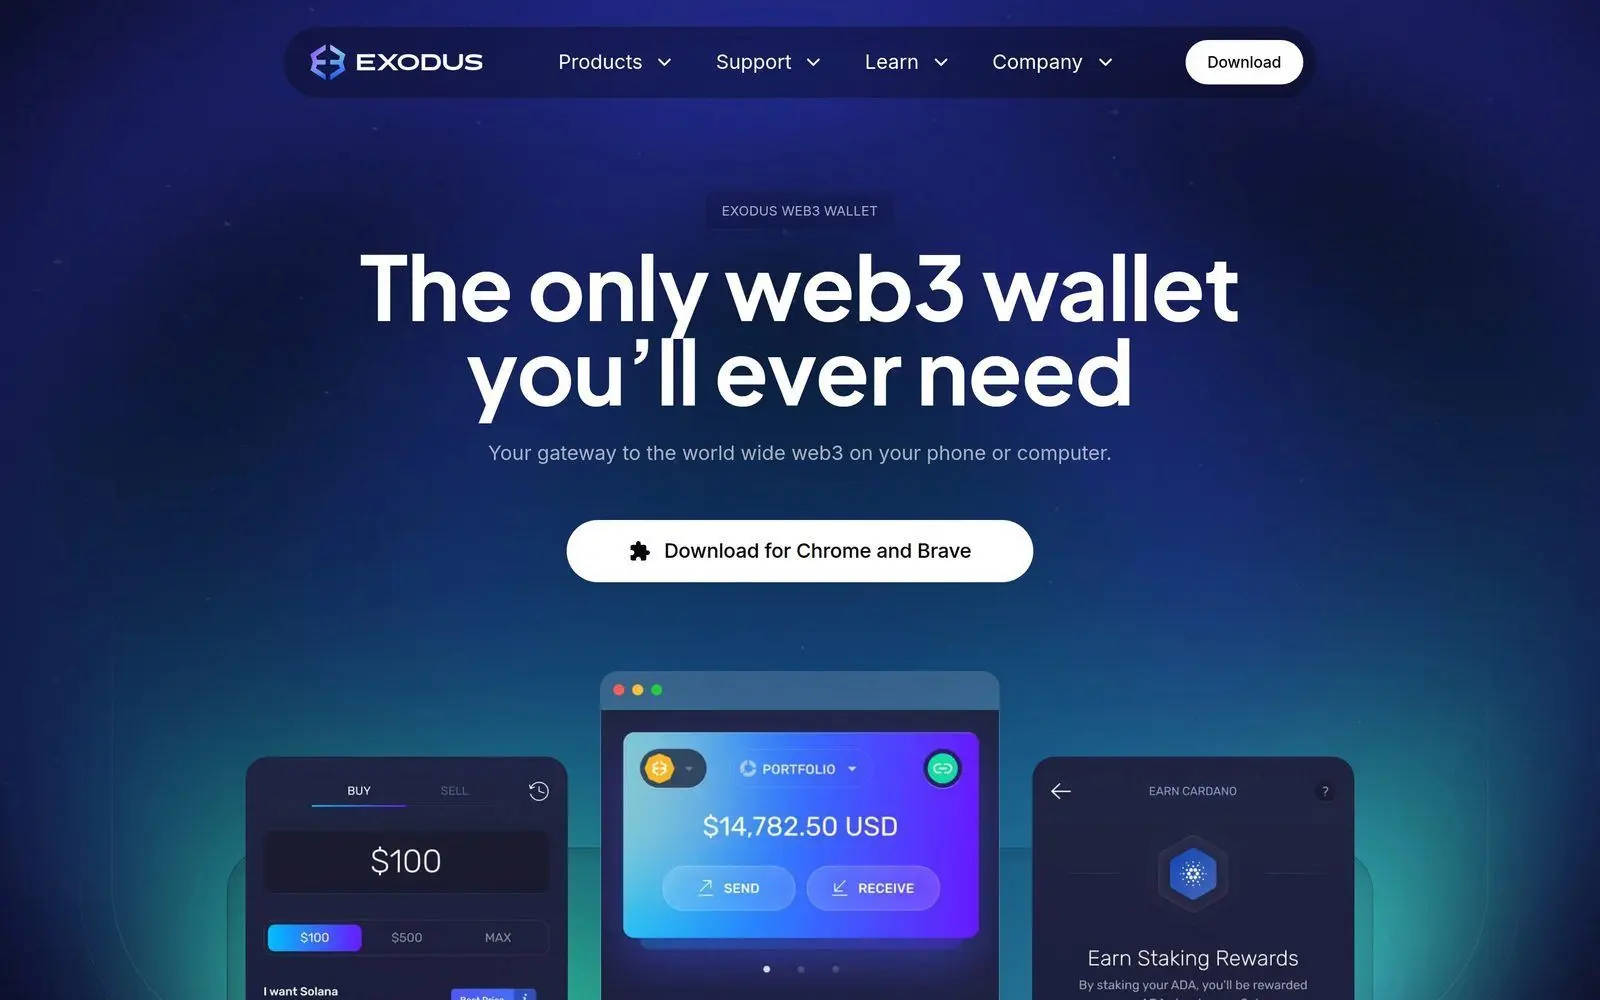
The Exodus browser extension allows you to connect to decentralized applications (DApps) just like MetaMask or Phantom. This opens up the entire world of DeFi, NFT marketplaces, and blockchain gaming.
How to Connect Exodus to a DApp
- Install the Exodus browser extension from the Chrome Web Store
- Import your existing wallet using your 12-word recovery phrase, or create a new one
- Visit any DApp website (e.g., Uniswap, OpenSea, Raydium)
- Click "Connect Wallet" on the DApp
- Select Exodus from the wallet options (or select MetaMask - Exodus is compatible)
- Approve the connection in the Exodus popup
For users who actively trade on decentralized exchanges, pairing your Exodus wallet with DEXTools gives you powerful analytics to research tokens before you swap. You can check liquidity, holder distribution, and price charts - all critical data points before making a trade.
Popular DApps Compatible with Exodus
- DeFi: Uniswap, SushiSwap, Aave, Compound, Raydium, Jupiter
- NFTs: OpenSea, Magic Eden, Blur
- Gaming: Axie Infinity, The Sandbox, Star Atlas
- Bridges: Wormhole, LayerZero-powered bridges
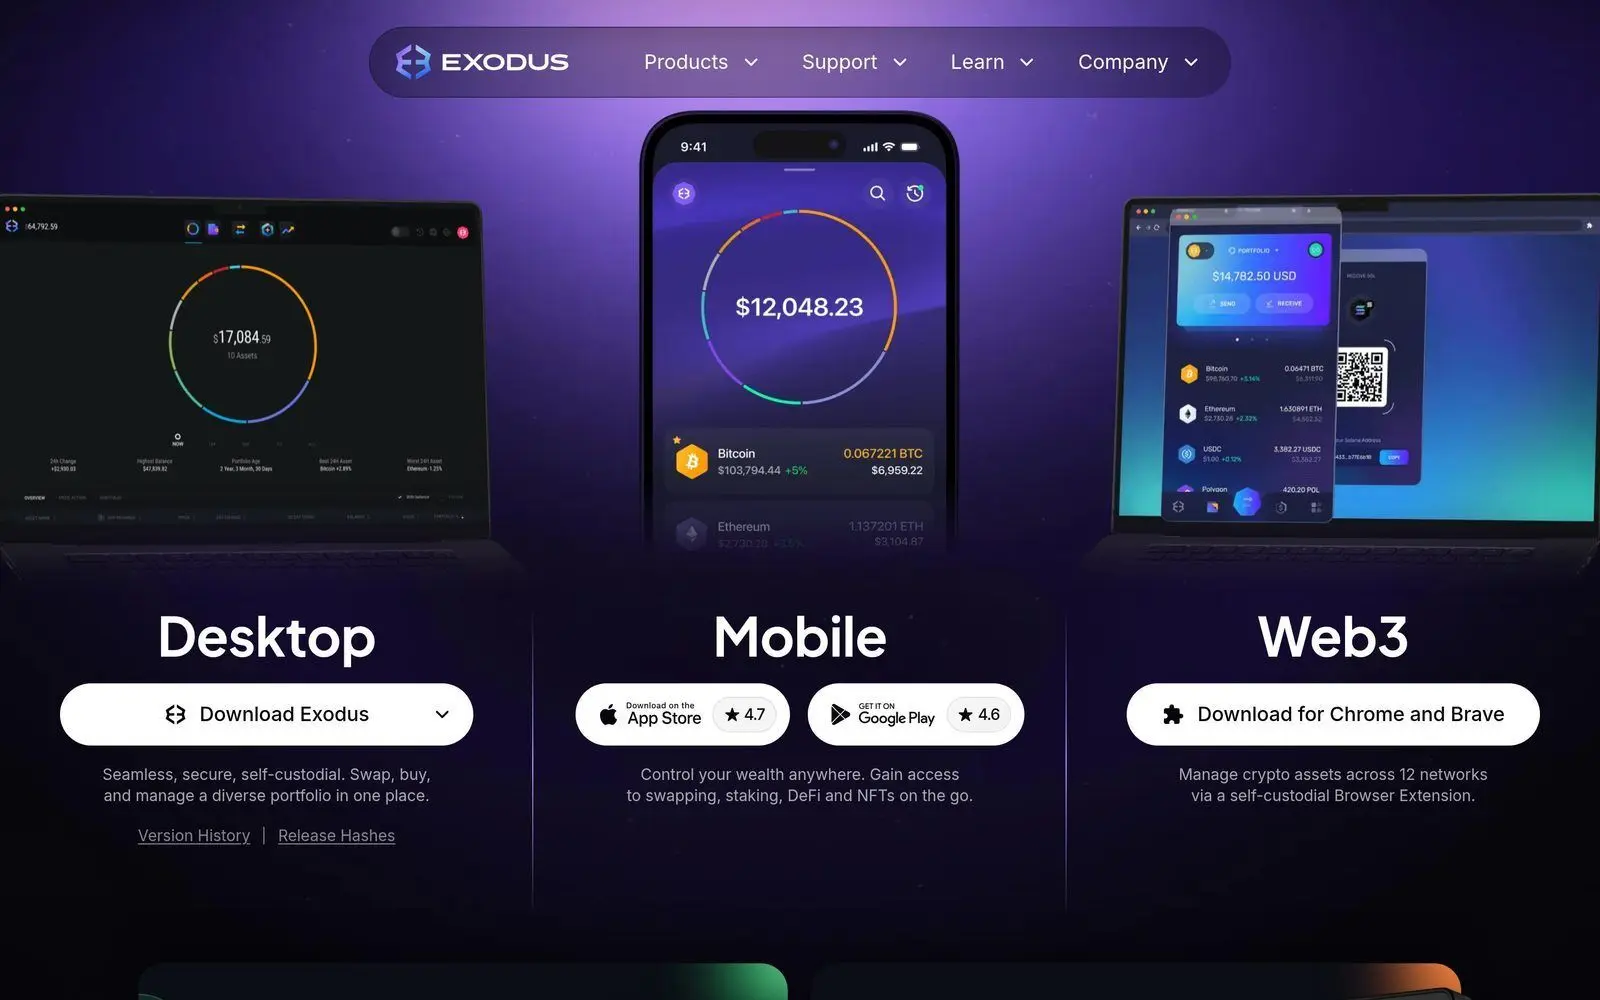
Desktop vs Mobile vs Browser Extension - Which to Use
Exodus offers three distinct platforms, each with their own strengths. Choosing the right one depends on your usage patterns.
Desktop App
- Best for: Portfolio management, large transactions, staking
- Pros: Largest screen, full feature set, Trezor integration
- Cons: Not portable, requires a trusted computer
Mobile App
- Best for: On-the-go transactions, quick balance checks, receiving payments
- Pros: Biometric security, QR code scanning, push notifications
- Cons: Smaller screen for portfolio analysis
Browser Extension
- Best for: DApp interactions, DeFi trading, NFT purchases
- Pros: Seamless DApp connections, works like MetaMask
- Cons: Limited to Chromium browsers, fewer portfolio features
The best approach is to use all three in combination. Your wallet syncs across devices using the same recovery phrase, so you always have access to the same funds regardless of which platform you use.
Security Best Practices for Exodus Wallet
Self-custody comes with responsibility. Follow these security practices to keep your crypto safe.
Essential Security Checklist
- Back up your recovery phrase on paper and store it in at least two secure locations
- Never share your recovery phrase with anyone, ever - not even Exodus support
- Use a strong, unique password that you do not use for any other account
- Enable biometric authentication on mobile devices
- Keep your software updated - Exodus frequently releases security patches
- Consider a hardware wallet - pair Exodus with a Trezor for maximum security
- Use a dedicated device for large holdings if possible
- Be skeptical of DApp permissions - review what you are approving before signing
Pairing Exodus with Trezor Hardware Wallet
For users holding significant amounts of crypto, pairing Exodus with a Trezor hardware wallet adds an extra layer of security. Your private keys are stored on the physical device, and every transaction must be physically confirmed by pressing a button on the Trezor.
- Purchase a Trezor device from the official Trezor website
- Set up the Trezor following its own setup guide
- Open Exodus desktop and go to Settings > Hardware Wallet
- Connect your Trezor via USB
- Follow the on-screen instructions to pair the devices
- Your Trezor-secured assets will appear with a shield icon in Exodus
Troubleshooting Common Exodus Issues
Transaction Stuck or Pending
If a transaction is taking longer than expected, check the blockchain explorer for your specific network. Bitcoin transactions can take longer during periods of high congestion. Ethereum transactions may be stuck if the gas price was set too low. In most cases, waiting is the best solution.
Exchange Not Available for Certain Pairs
Exodus's exchange feature depends on third-party liquidity providers. Some pairs may be temporarily unavailable due to low liquidity or regulatory restrictions in your region. Try again later or use a decentralized exchange through the browser extension.
Wallet Not Syncing
If your balances appear incorrect, try refreshing your wallet by closing and reopening the app. If the issue persists, check your internet connection and ensure you are running the latest version of Exodus.
Video Tutorial: How to Use Exodus Wallet
Frequently Asked Questions
Is Exodus Wallet safe to use in 2026?
Yes, Exodus is considered safe for everyday cryptocurrency management. It is a non-custodial wallet, meaning only you control your private keys. However, like all software wallets, it is only as secure as the device it runs on. For maximum security, pair it with a Trezor hardware wallet and follow best practices like backing up your recovery phrase offline.
Does Exodus Wallet charge fees?
Exodus itself does not charge fees for sending or receiving crypto - you only pay the standard blockchain network fees. However, the built-in exchange feature includes a spread (typically 1-3%) which is how Exodus generates revenue. For the lowest trading fees, consider using decentralized exchanges directly through the browser extension.
Can I use Exodus Wallet for DeFi and NFTs?
Yes. The Exodus browser extension works just like MetaMask and can connect to virtually any Ethereum, Solana, or EVM-compatible DApp. You can use it to swap tokens on Uniswap, provide liquidity on Aave, buy NFTs on OpenSea, and much more. Use DEXTools alongside Exodus to research tokens and verify smart contract safety before interacting with DeFi protocols.
How many cryptocurrencies does Exodus support?
As of 2026, Exodus supports over 300 cryptocurrencies and tokens across more than 50 blockchain networks. This includes major assets like Bitcoin, Ethereum, Solana, Cardano, and Polygon, as well as hundreds of ERC-20, SPL, and other token standards. New assets are added regularly through software updates.
Can I recover my Exodus wallet if I lose my phone or computer?
Yes, as long as you have your 12-word recovery phrase. Simply download Exodus on a new device, select "Restore from Backup," and enter your 12 words in the correct order. All your assets will appear automatically. This is why backing up your recovery phrase is the single most important step in this Exodus wallet tutorial.
Start Managing Your Crypto Portfolio Today
Exodus Wallet offers one of the most user-friendly experiences in the crypto space, combining multi-chain support, built-in exchanges, staking, and DApp connectivity in a single application. Whether you are just getting started with your first Bitcoin purchase or managing a diverse portfolio across multiple blockchains, Exodus provides the tools you need.
Ready to take your crypto journey further? Visit DEXTools to access real-time token analytics, trading pair data, and market insights that complement your Exodus wallet experience. Track new token launches, monitor liquidity pools, and make more informed trading decisions - all in one powerful platform.