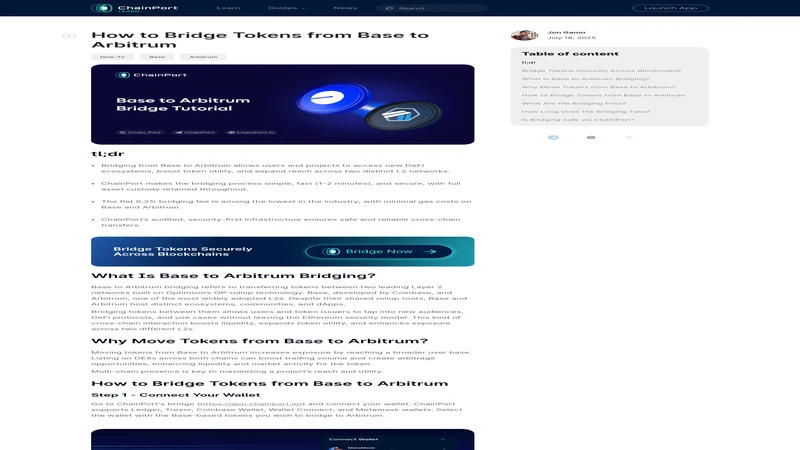
How to Bridge Base to Arbitrum Safely: 2026 Guide
— By Whatsertrade in Tutorials

Bridge Base to Arbitrum safely with this step-by-step guide covering route selection, fees, timing and troubleshooting for smooth cross-chain transfers.
Bridging from Base to Arbitrum is one of the most practical L2-to-L2 moves in crypto because users often want to leave one low-fee environment for another without returning to Ethereum mainnet first. The route sounds simple, but this is exactly where weak guides fall short. They explain the click path and ignore the decision layer: why are you moving, what asset are you moving, and what kind of bridge path actually fits your needs?
This guide is built around the exact query, how to bridge Base to Arbitrum, and focuses on clarity. The job is not just to move funds. It is to pick a route that matches your timing, liquidity, and token-support needs while staying clear about the direction of travel.
Quick answer
- Bridge from Base to Arbitrum when the next app, trade, or liquidity destination is specifically on Arbitrum.
- Choose the route based on speed, token support, and cost, not just the first bridge interface you see.
- Confirm the asset, wallet, and exact direction of the route before you send anything.
Why Users Move Assets from Base to Arbitrum
Base is useful when the activity is already inside the Coinbase-led L2 ecosystem. Arbitrum is useful when the next opportunity, dApp, or liquidity pool lives there instead. So this is usually not a random bridge. It is a deliberate move between two active ecosystems where users care about better route selection, not just cheaper gas than Ethereum mainnet.
If you need the Base fundamentals first, read our Base guide. If you are going in the opposite direction of the destination theme, our ETH to Arbitrum guide helps with the Arbitrum side of the journey.
Questions to answer before you bridge
Step 1: Confirm That Arbitrum Is Actually the Right Destination
Do not bridge out of Base automatically just because you finished one action there. If the next swap, vault, or protocol also exists on Base, staying put may be simpler and cheaper. Bridge to Arbitrum only when the destination solves a real next-step problem such as deeper liquidity, a specific dApp, or better route economics for your plan.
Step 2: Choose a Route Based on Outcome, Not Just Branding
Many pages treat a bridge as a one-size-fits-all tool. That is not how good operators think. You should choose the route based on the asset you are moving, how quickly you need it on Arbitrum, what the fee profile looks like, and how comfortable you are with the bridge provider itself.
What to check before bridging Base to Arbitrum
Step 3: Confirm the Direction Carefully Before Executing
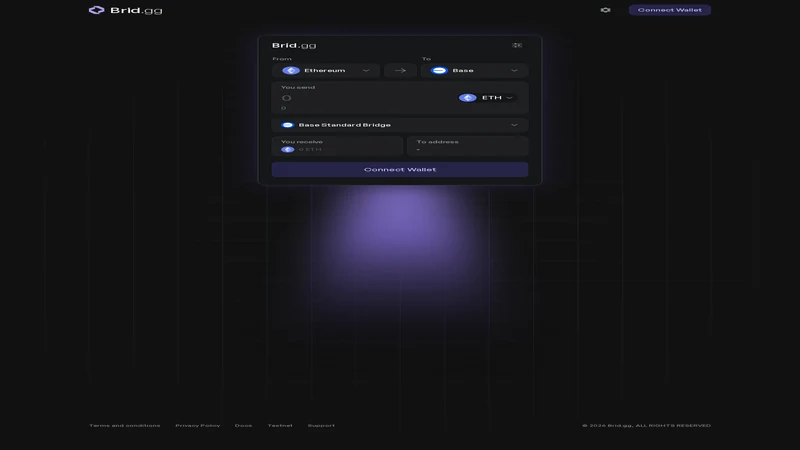
L2-to-L2 transfers create one subtle risk: users read quickly and mentally swap the direction in their heads because both chains are familiar. Slow down here. Read the route screen line by line as if you were confirming a wire transfer. Base on the left, Arbitrum on the right, correct asset, correct wallet, correct amount.
Base to Arbitrum flow
Step 4: Verify the Balance on Arbitrum Before You Trade or Swap
After the route completes, switch the wallet to Arbitrum and verify the arriving asset before you start swapping or depositing anywhere. That final check is where the bridge becomes operationally real. Until then, you are still working from assumptions.
Fees, Speed, and Route Selection Matter on L2-to-L2 Moves
Base-to-Arbitrum is not as expensive as bridging out of Ethereum mainnet, but that does not make it trivial. The user still has to choose a route that matches the asset, the urgency of the move, and what needs to happen on Arbitrum after arrival. This is where thin competitor pages lose the plot. They describe a bridge screen without helping the user compare tradeoffs.
On L2-to-L2 transfers, the quality question is usually about route efficiency and clarity. How fast do you need the funds? Are you moving ETH, a stablecoin, or a less common token? Does the route keep the operational flow simple? A better SEO page should answer those questions because that is what makes the tutorial genuinely useful rather than generic.
What separates a good route from a bad one
Common Base to Arbitrum Mistakes to Avoid
Mistakes that create preventable friction
What to Do If the Bridged Funds Do Not Appear on Arbitrum
If the route says complete and the balance still does not show on Arbitrum, start by checking the destination chain in the wallet and then review the bridge status. Because both chains are familiar L2 environments, users often misread the route or look at the wrong side first. That is a visibility problem, not necessarily a bridge problem.
If the transfer record confirms success, verify the asset and the active Arbitrum view before doing anything else. Sending a second transaction while the first one is still being misunderstood is how a routine bridge becomes a messy support story.
Frequently Asked Questions
Can I bridge ETH from Base to Arbitrum?
Yes, if the route you choose supports that asset and clearly shows Base as the source and Arbitrum as the destination.
Is bridging Base to Arbitrum the same as withdrawing to Ethereum first?
No. This is an L2-to-L2 move. A good route may avoid the need to return to Ethereum mainnet first.
What should I check before sending a large amount?
Check the route direction, asset support, total fee profile, wallet destination, and the exact purpose for needing funds on Arbitrum.
How much does it cost to bridge Base to Arbitrum?
Costs depend on the route provider, the asset, and any relayer or execution fee built into the path. Compare total route cost and speed instead of focusing on one number in isolation.
Is bridging Base to Arbitrum faster than returning to Ethereum first?
Usually yes, because a good L2-to-L2 route can avoid the extra step of going back through Ethereum mainnet. That said, the exact speed depends on the bridge and asset you choose.
Related reading
Disclaimer: This article is for educational purposes only and does not constitute investment, tax, or legal advice. Bridge routes, asset support, and fee profiles can change over time. Always confirm the live destination chain, route direction, and wallet address before moving funds.