How to Use Meteora DLMM on Solana (2026 Tutorial)
— By Tony Rabbit in Tutorials

Learn how to use Meteora's DLMM to provide concentrated liquidity on Solana and earn fees. A step-by-step 2026 Meteora tutorial.
Meteora DLMM is not the kind of product you should approach with a casual "let me click around and see" mindset. It is a more active liquidity framework built around discrete price bins, dynamic fees, and strategy choices that genuinely affect outcome. That is why it deserves a practical tutorial instead of a lazy overview.
The key to using Meteora DLMM well is understanding that it is designed for users who want more precision, not less responsibility. You can concentrate liquidity, shape it according to your volatility view, and potentially earn better fee outcomes. You can also misread the pair, choose a range that is too narrow, and turn a clever tool into a stressful position.
Quick answer
- Choose a pair you actually understand before you think about fees or incentives.
- Pick the liquidity shape and range on purpose, because that decision drives how your position behaves.
- Treat DLMM as an active LP workflow, not a set-and-forget yield button.
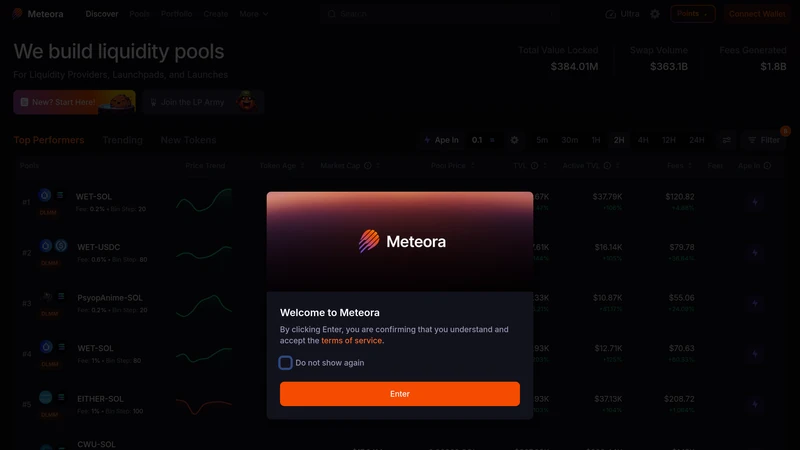
What Meteora DLMM Is Best Used For
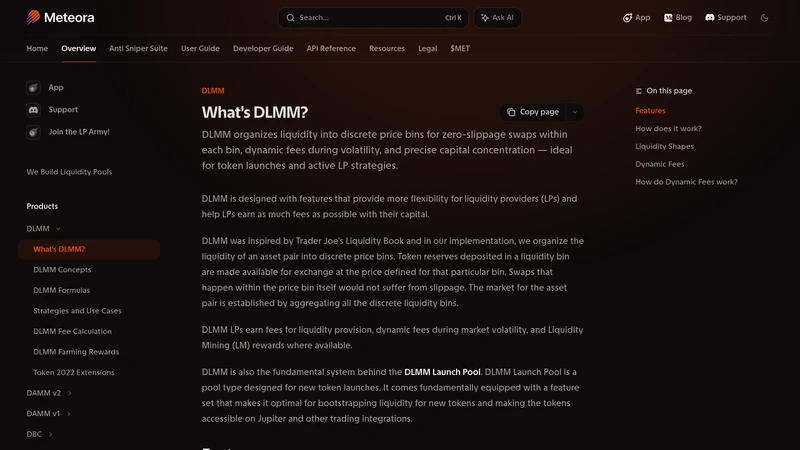
Meteora describes DLMM as a dynamic liquidity market maker that organizes liquidity into discrete price bins. The documentation goes further and explains why that matters: swaps inside an active bin can happen without slippage, fees can respond to volatility, and liquidity can be concentrated more precisely than in a basic AMM setup. That makes DLMM particularly attractive to active LPs and launch-focused strategies.
In practice, that means Meteora DLMM is best used by people who are willing to think about volatility, pair selection, and liquidity shape before they deposit. If you want passive simplicity above all else, this is probably not the first product to learn on. If you want control and can tolerate more decision-making, DLMM becomes much more interesting.
When Meteora DLMM is a strong fit
What to Prepare Before You Add Liquidity
Before depositing into a DLMM pool, decide whether you understand the pair well enough to manage it. The docs explain that users can choose different liquidity shapes such as Spot, Curve, and Bid-ask. That is not cosmetic. It means you are making a strategic choice about how exposure is distributed across price bins. You should also understand impermanent loss, know whether you are using both tokens or a single-sided setup, and be honest about how actively you will monitor the position.
The four DLMM decisions that matter most
How to Use Meteora DLMM Step by Step
Start by choosing the pool or pair you want to work with on Solana. Then decide how concentrated or flexible you want the position to be. This is the part people should slow down on. The product allows real precision, and that means the shape and range are meaningful strategic inputs. Do not pick them based on vibes or because a chart looked exciting for ten seconds.
Once you are comfortable with the pair and distribution, add liquidity and confirm the transaction. Then monitor the position as an active LP position, not as a forgotten farm. If market conditions change, your range can become less effective or inactive relative to the current price. That is normal. What matters is that you planned for it and know when to adapt.
A better Meteora DLMM workflow
Common Meteora DLMM Mistakes to Avoid
Most DLMM mistakes come from treating a precision product like a passive product. Users hear "higher efficiency" and forget the rest of the sentence. They choose a pair they barely understand, over-concentrate because the fee potential looks attractive, and then act shocked when the position needs management once price moves.
Mistakes that weaken a DLMM position
How to Troubleshoot an Inactive or Weak Meteora DLMM Position
If the position feels weaker than expected, start by checking whether the market price has moved away from where your liquidity is concentrated. Then review whether the pair is simply less active than you assumed, which can reduce fee generation even if the configuration itself was sensible. Not every disappointing result is a bug. Sometimes it is just a strategy mismatch.
The best troubleshooting order is to review pair activity, current price location relative to your bins, and whether your chosen distribution still matches market conditions. If not, rebalance with intention rather than reacting emotionally. DLMM is designed for controlled adjustment, not for pretending the market should stay inside your first guess forever.
Frequently Asked Questions
What is Meteora DLMM?
It is a dynamic liquidity market maker on Solana that uses discrete price bins, concentrated liquidity, and dynamic fees to give LPs more control.
Is Meteora DLMM good for beginners?
Only if the beginner is willing to learn the mechanics first. It is more precise and more demanding than a simple passive liquidity product.
Why do liquidity shapes matter on Meteora DLMM?
Because shapes such as Spot, Curve, and Bid-ask change how your liquidity is distributed and how the position reacts to market movement.
Do I need to monitor a DLMM position after depositing?
Yes. DLMM is best treated as an active LP position, especially when price moves or the pair becomes more volatile.
What is the safest way to start using Meteora DLMM?
Start with a pair you know well, use a modest size, choose a shape you understand, and review the position regularly before scaling up.
Related reading
Disclaimer: This article is for educational purposes only and not financial, legal, or tax advice. Pool design, incentives, and market conditions can change quickly. Always review the live DLMM setup before depositing capital.
Related Guides
- How to Use Raydium on Solana: Swaps, Liquidity Pools and CLMM Guide (2026)
- How to Use Orca DEX: Whirlpools and Solana Swap Guide (2026)
- When DEX Liquidity Stops Representing the Main Market After a CEX Listing
- What Is UPEG? Unipeg Token Explained, From Ethereum Liquidity to the NFT Angle
- What Is Unlocked Liquidity in Crypto? Risks, Myths and What Traders Miss (2026)